
How to make a cover image
I literally couldn't come up with anything else to write about today!

I like programming and learning about stuff I find interesting. Particularly interested in functional programming and typing systems.
I have a background in Cognitive Science/Psychology and Mathematics. Sadly halted due to physical and mental health issues arising from getting Covid. Which unfortunately hit me quite hard back on 2020. I'm still dealing with some sequels so I would prefer working from home.
I find it fun trying to find insights that cut across disciplines. I tend to favor the "theoretical" side of things. But I also try to get as much hands-on experience as possible.
I am writing a blog. Trying to share what I learn, and that others might find useful. I try to focus on the unique things I can bring to the table. Hoping to add value to the life of other developers. I always have a thousand ideas racing through my mind, so I don't have any trouble coming up with ideas on what to write. If any, I have a hard time cutting down on the number of things I want to write about :D
On a personal note. I have always been quite solitary and introverted. But I don't think I'm shy. I love videogames and started programming because I wanted to make my own.
Why take special care just for a cover image?
The goal of my blog is to create a unique identity for myself. A personal brand if you will. To that end, a thumbnail should fulfill two main functions:
- It should seize attention
- It should be immediately recognizable
That is, if you see my thumbnail on your feed, you will know I have a new post. Because I made it instantly recognizable. And I achieve that by having a consistent style.
It doesn't have to be good. It just have to be consistent. (Of course it helps if is pleasant to look at)
That certainly is a bold claim. The more we are exposed to certain stimuli, the easier they become to recognize. The more familiar they feel. The more accepting we are towards whatever message they are intending to convey. Specially if it validates what we already assume.
It may sound common sensical but I am purposefuly exploiting a know cognitive bias that psychologist Daniel Kahneman calls cognitive ease. I might write more about that in the future if you are interested!
Hands on!
First of all, you always end up figuring out how to do anything on the go. I started this blog by improvising, pretty much. I am still figuring out stuff. This tutorial is a way I have to explain things to myself. But I hope you also find it useful!
Sketch and workflow
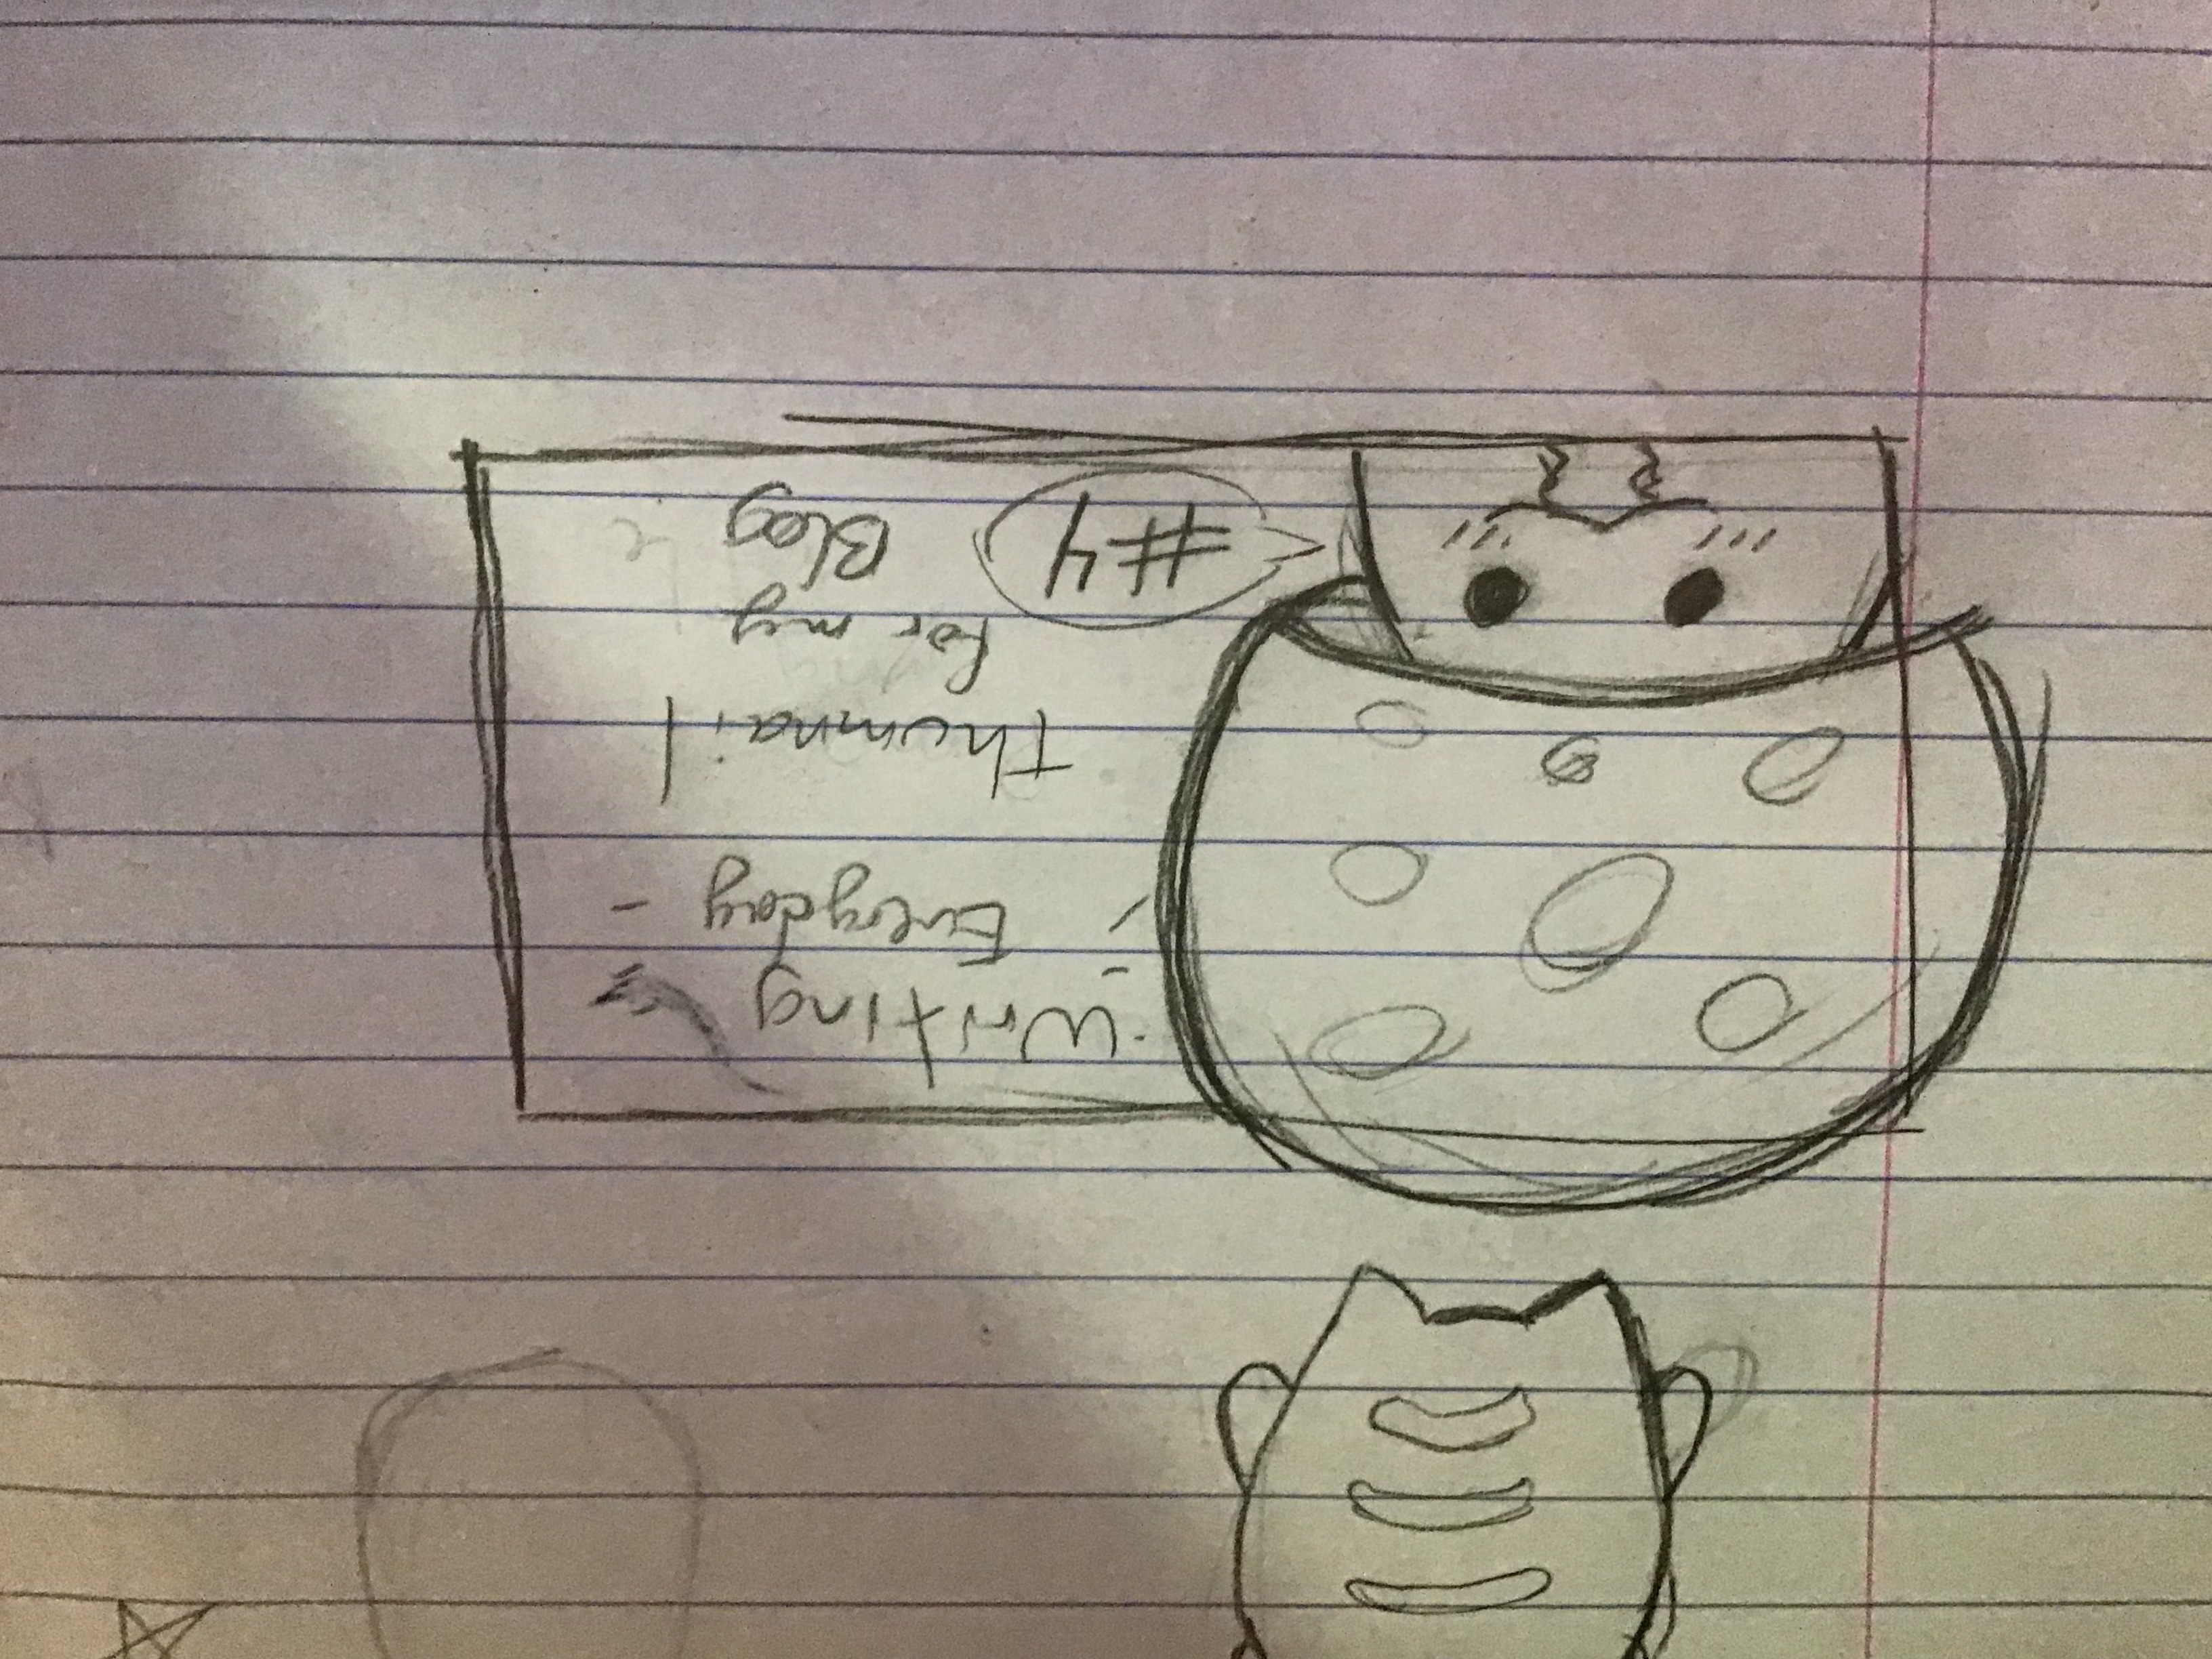
I start by sketching on paper and take a photo with the iPad's camera
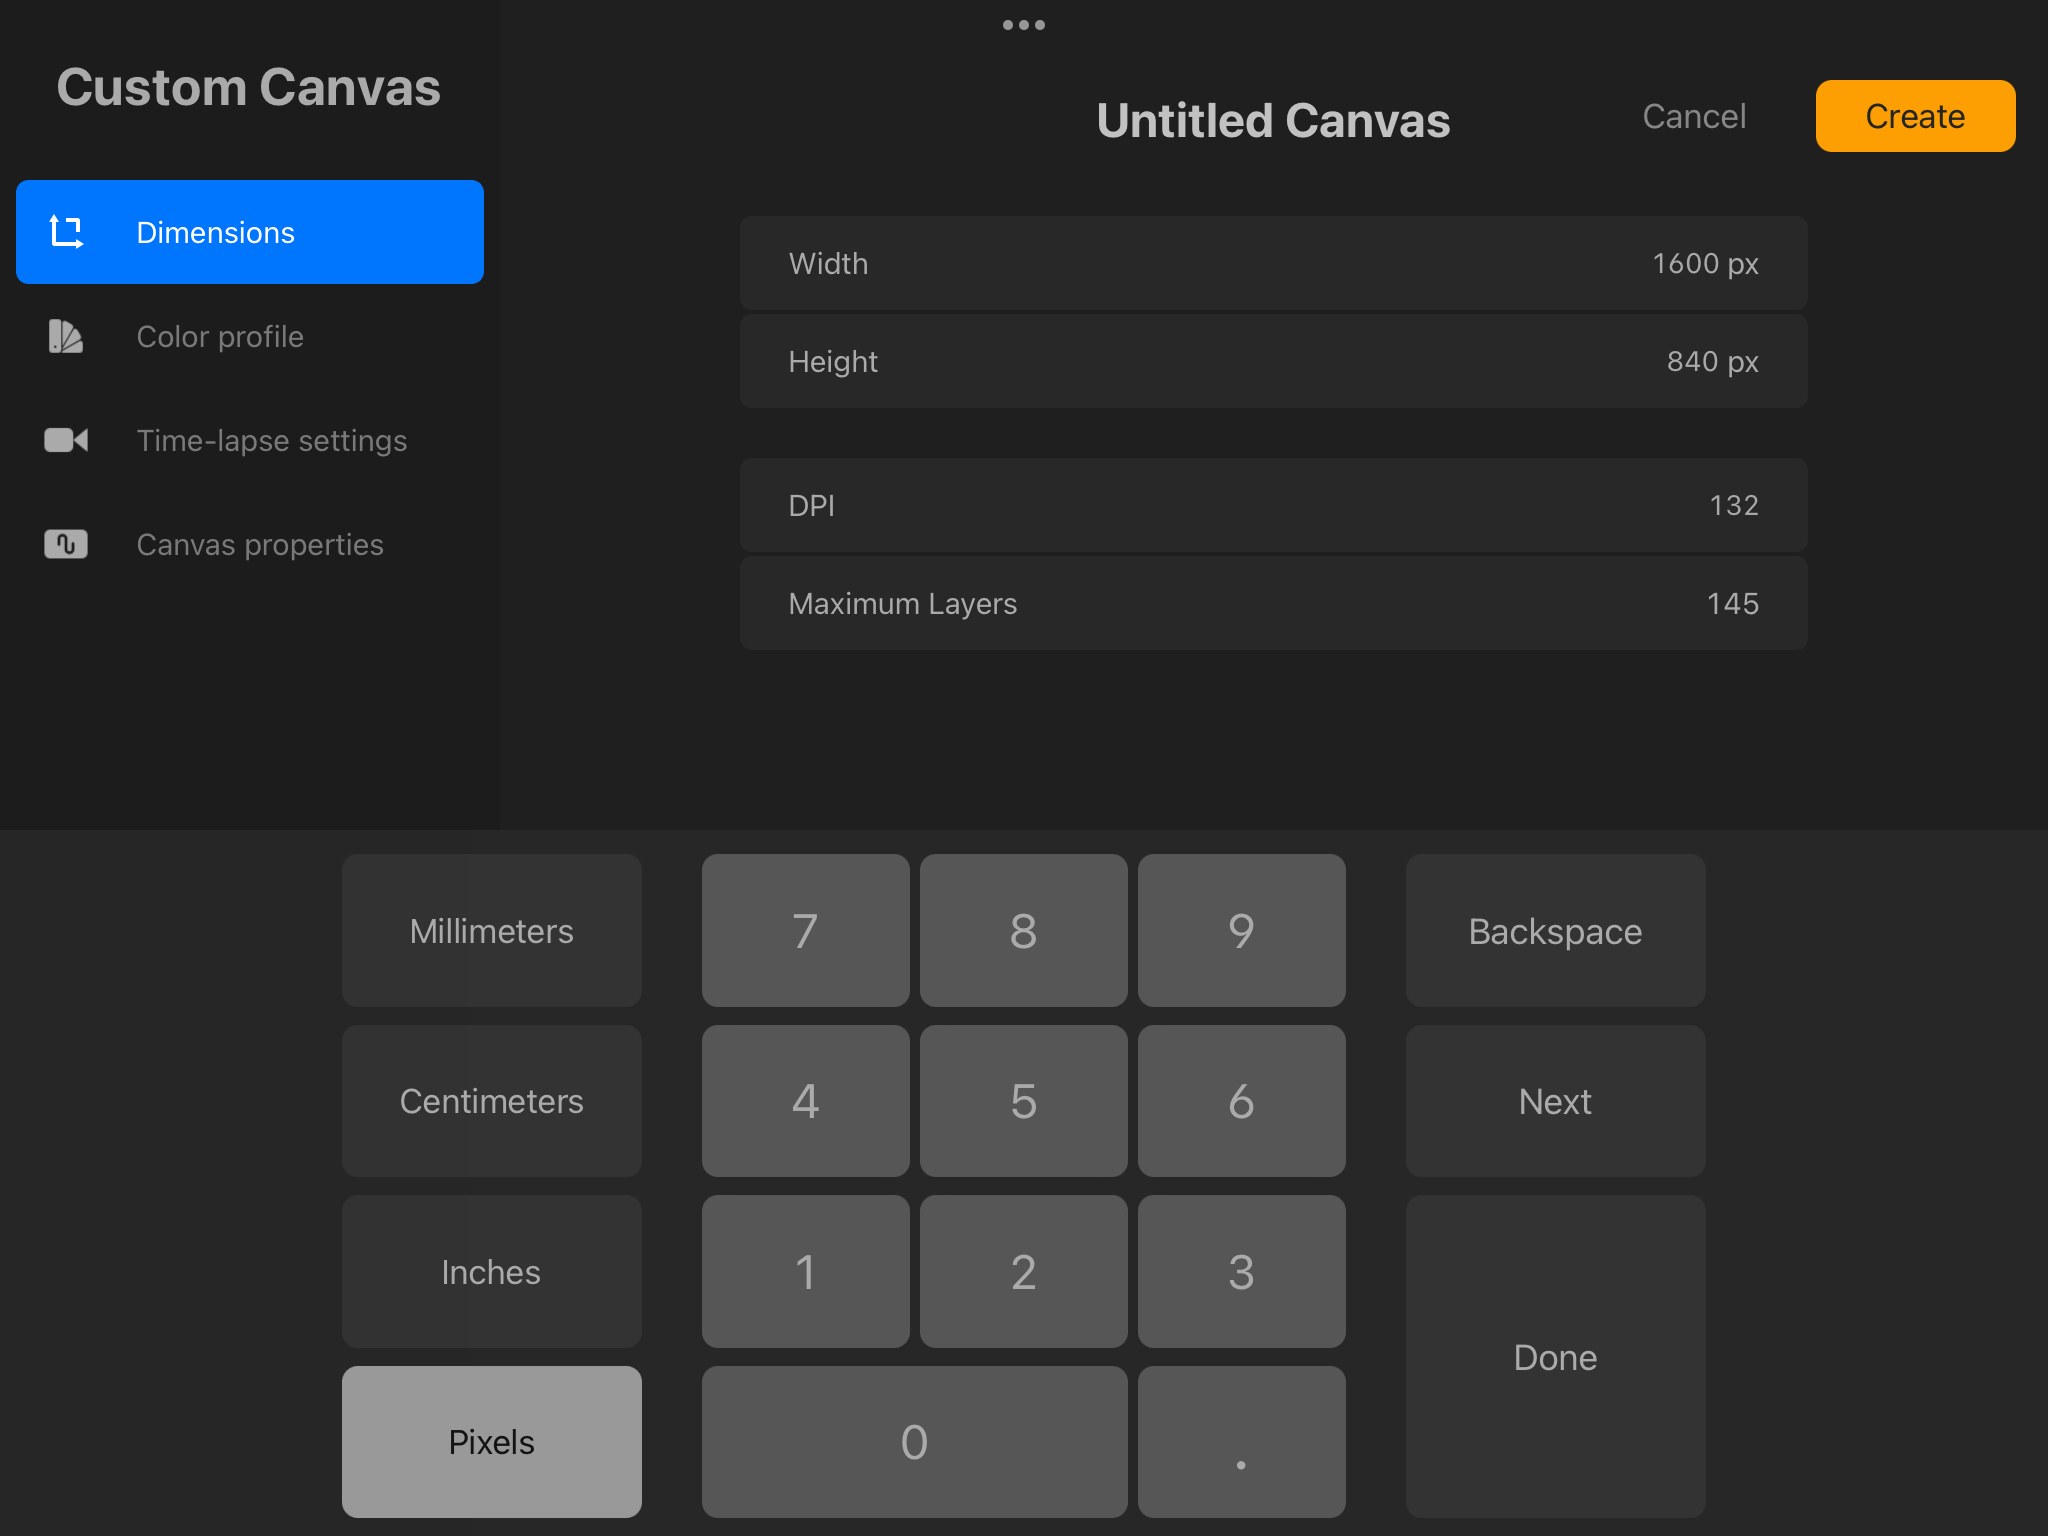
 On the procreate app on my iPad, I create a 1600x840 canvas
 Import the photo I took
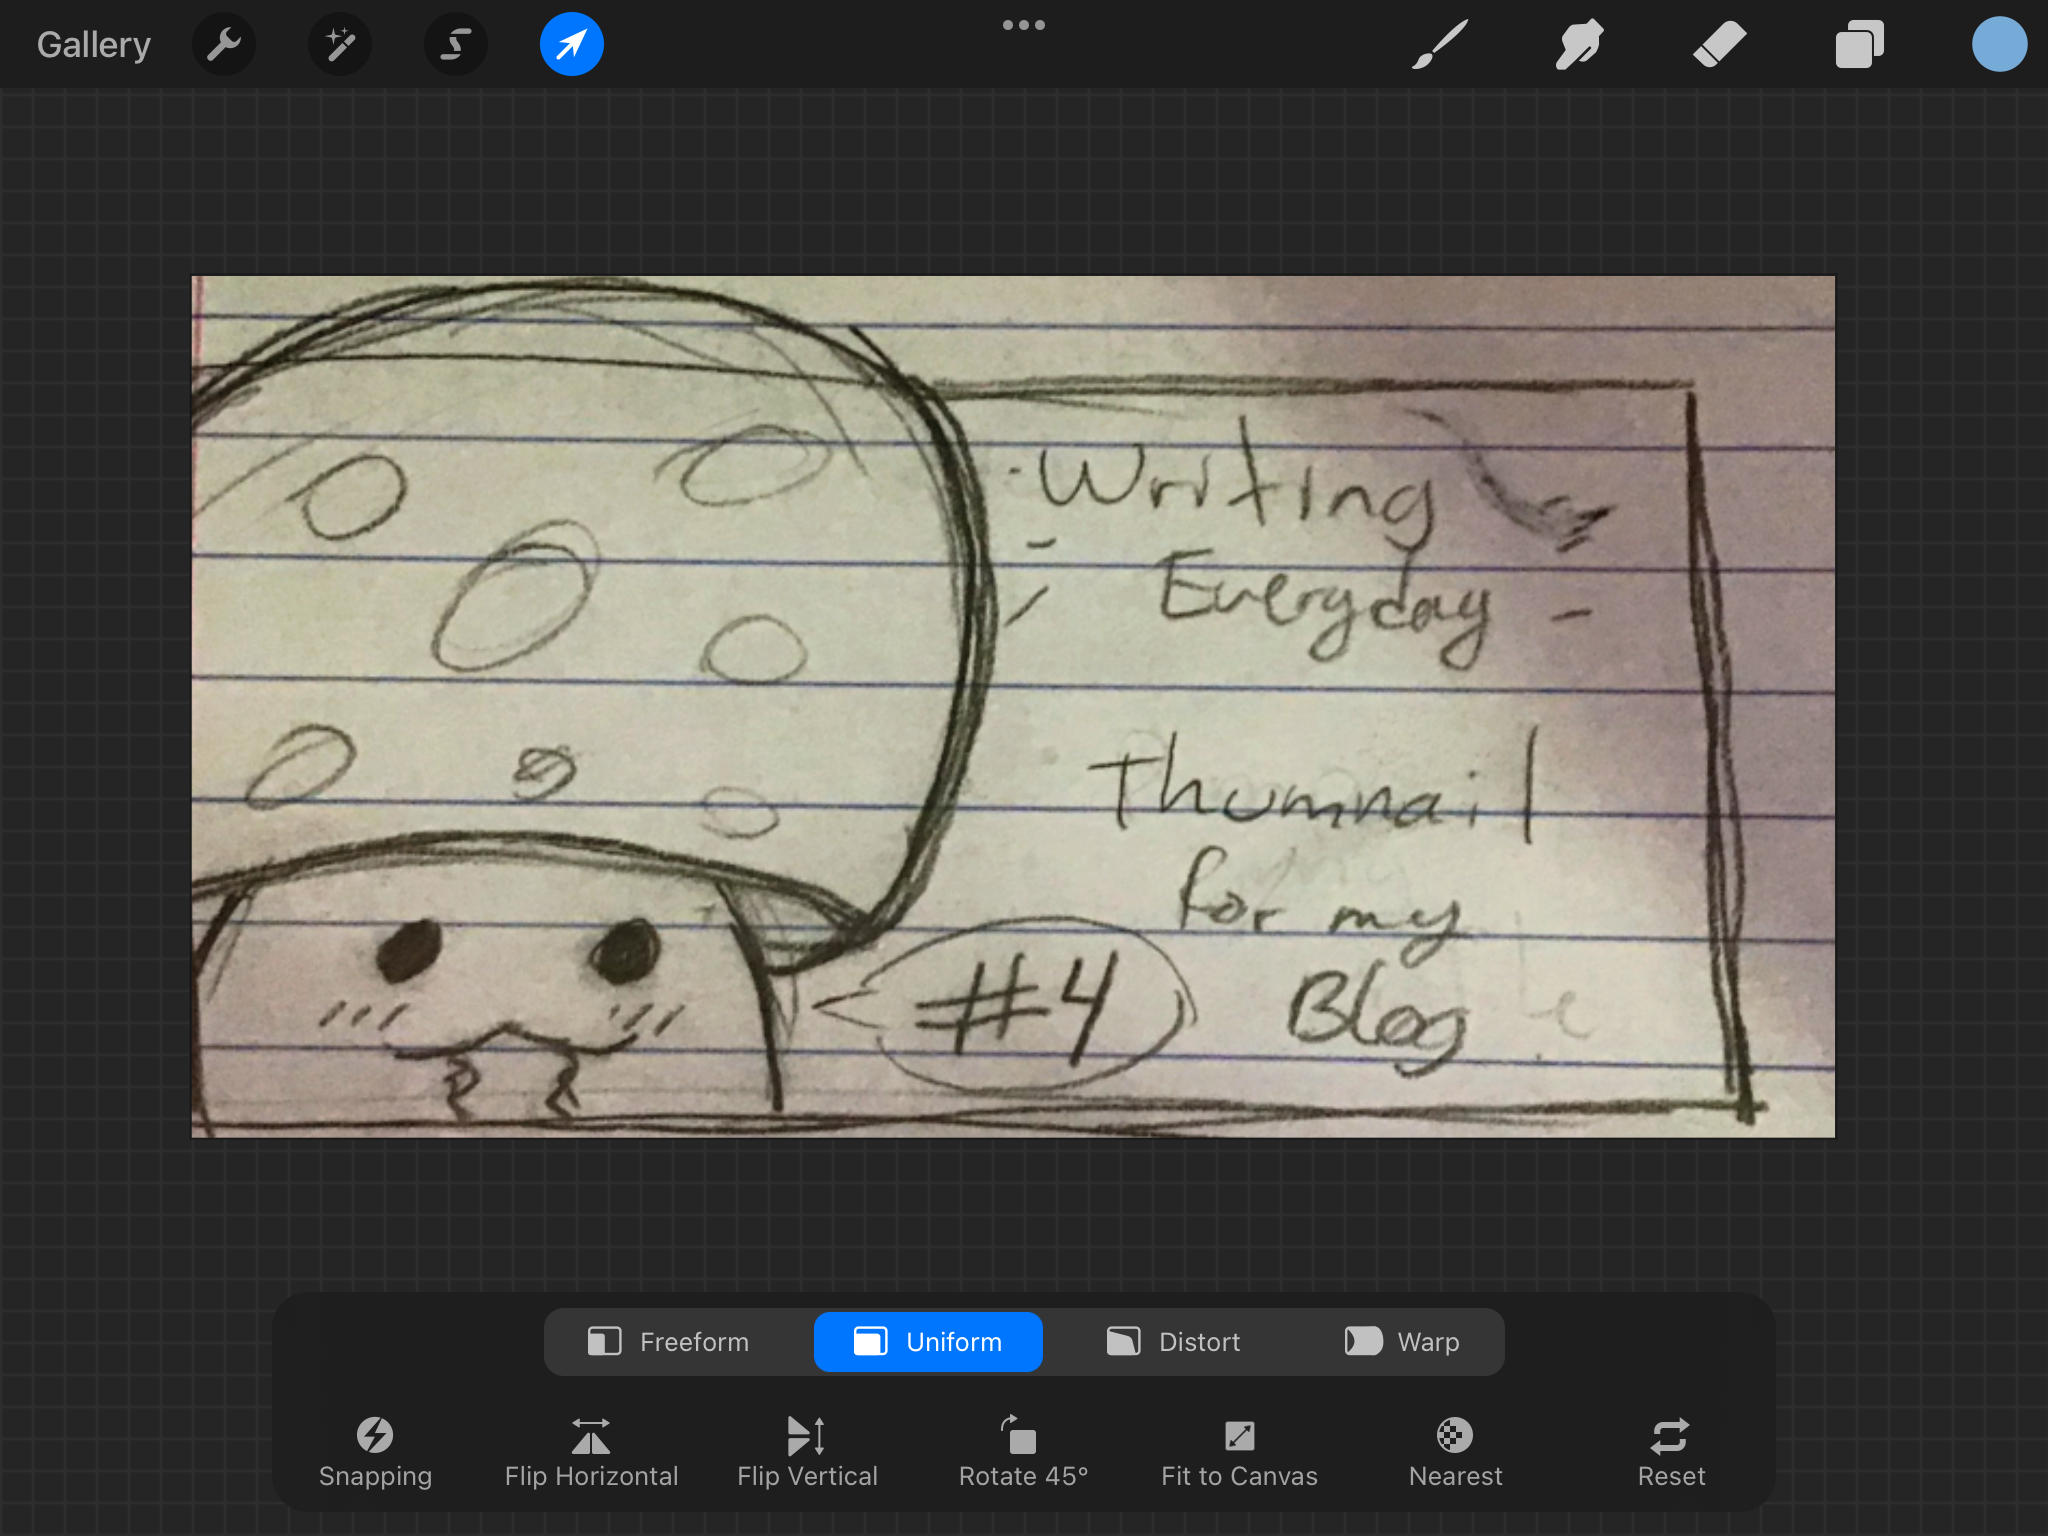
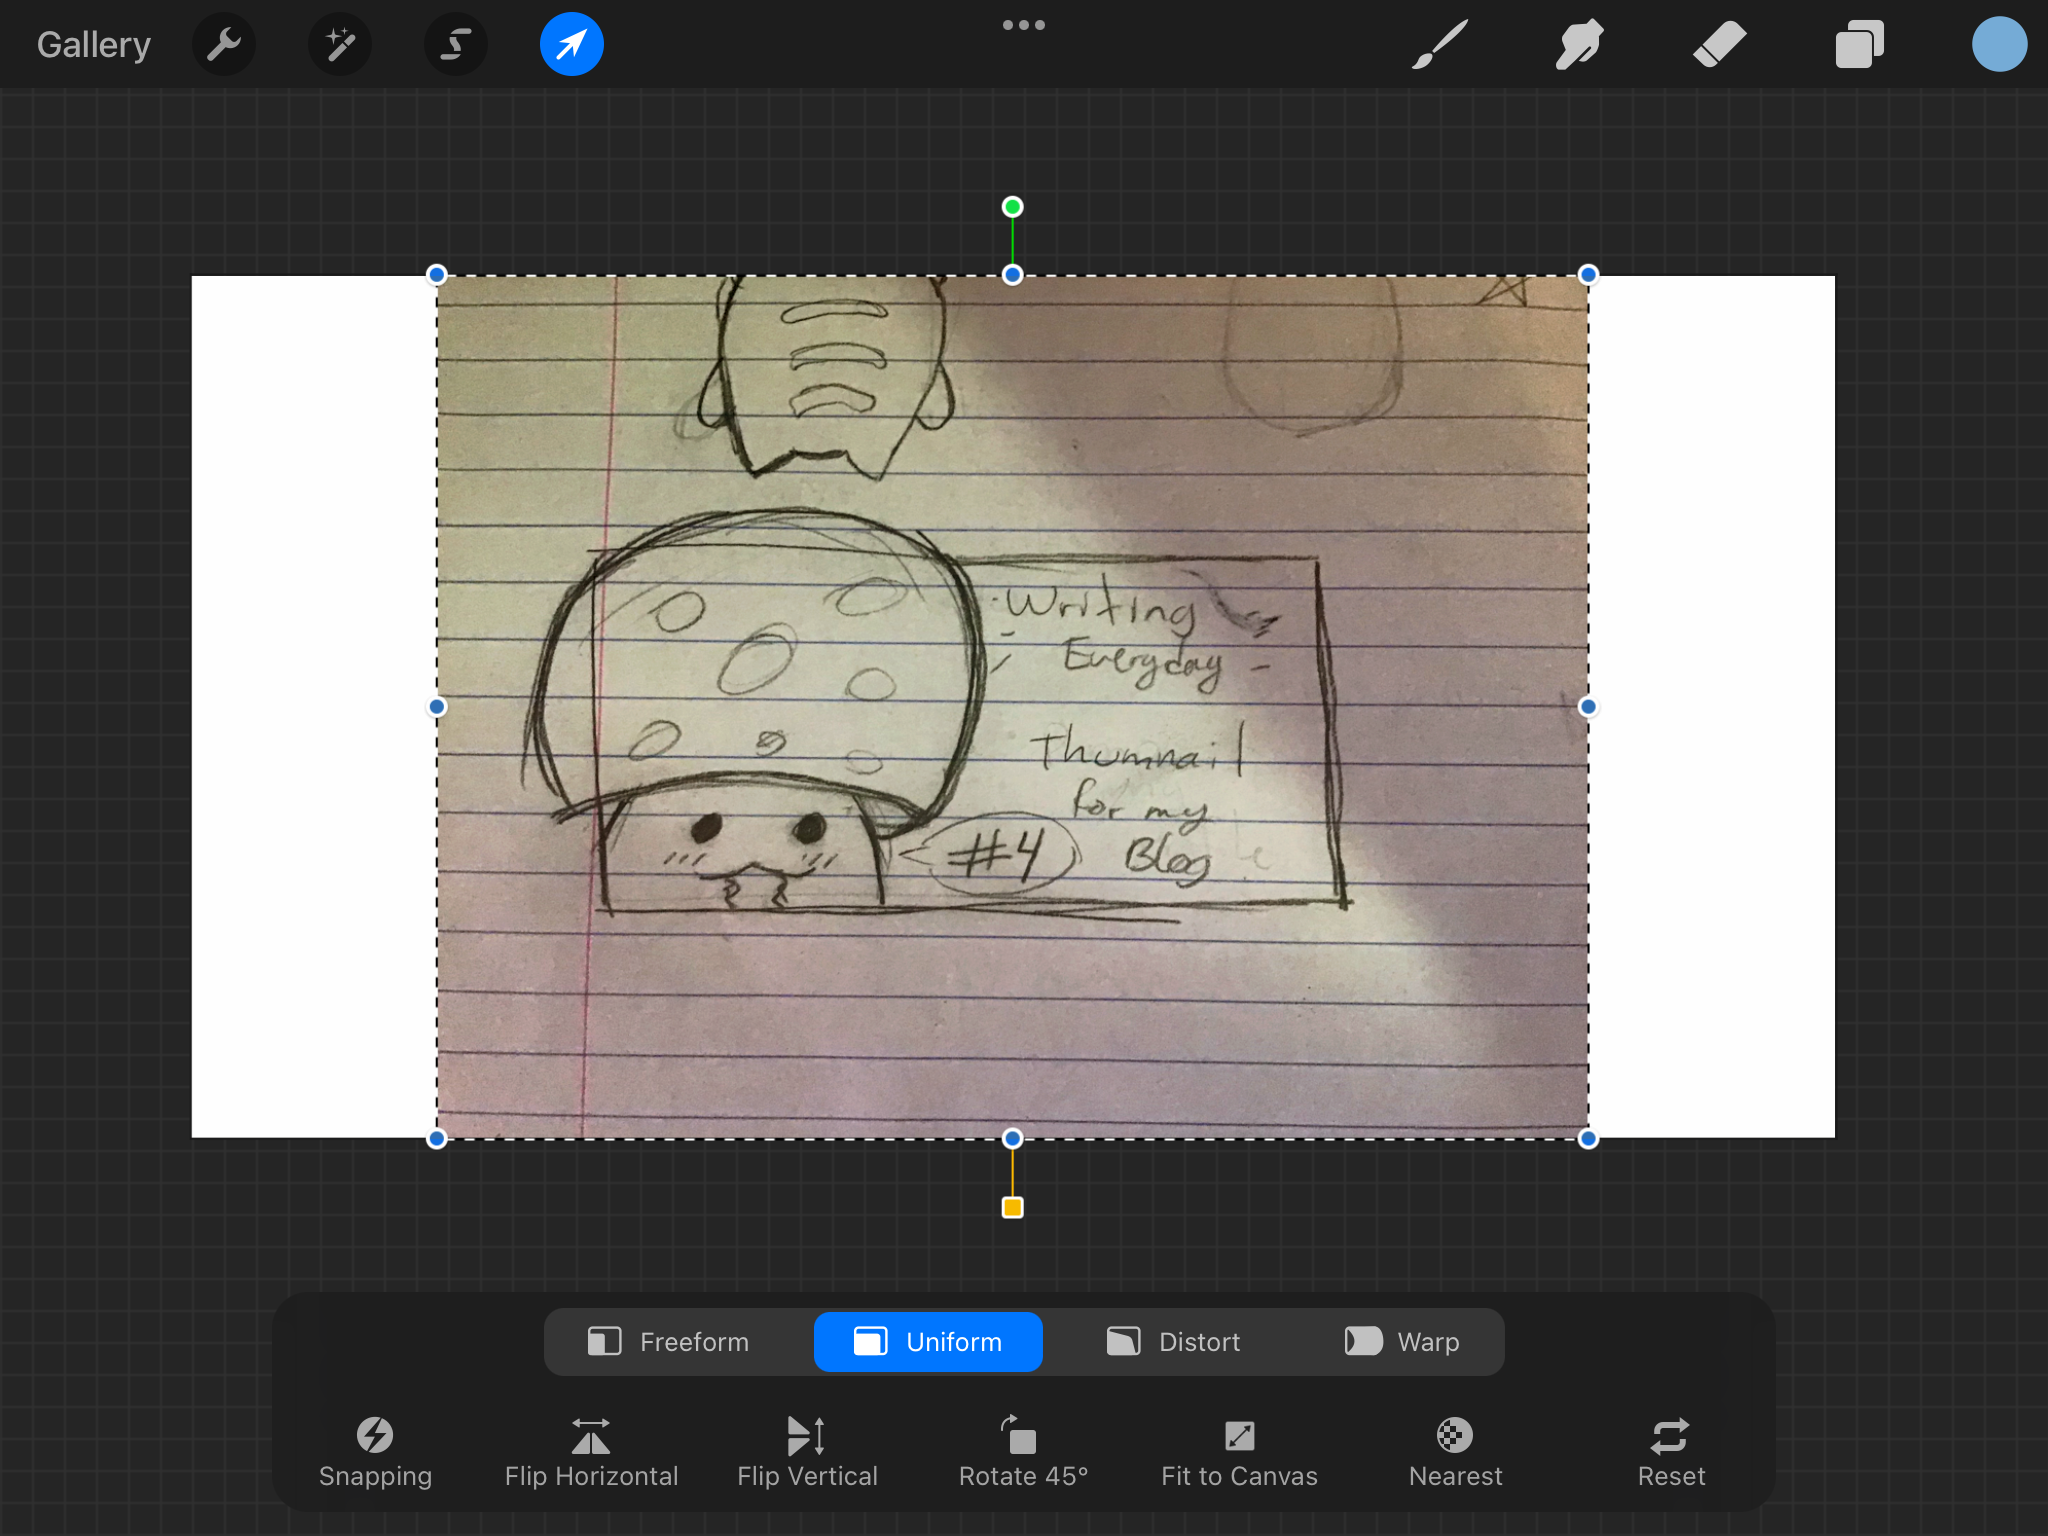 And resize it to fit
Then I can lower the opacity of the photo and draw on a new layer on top
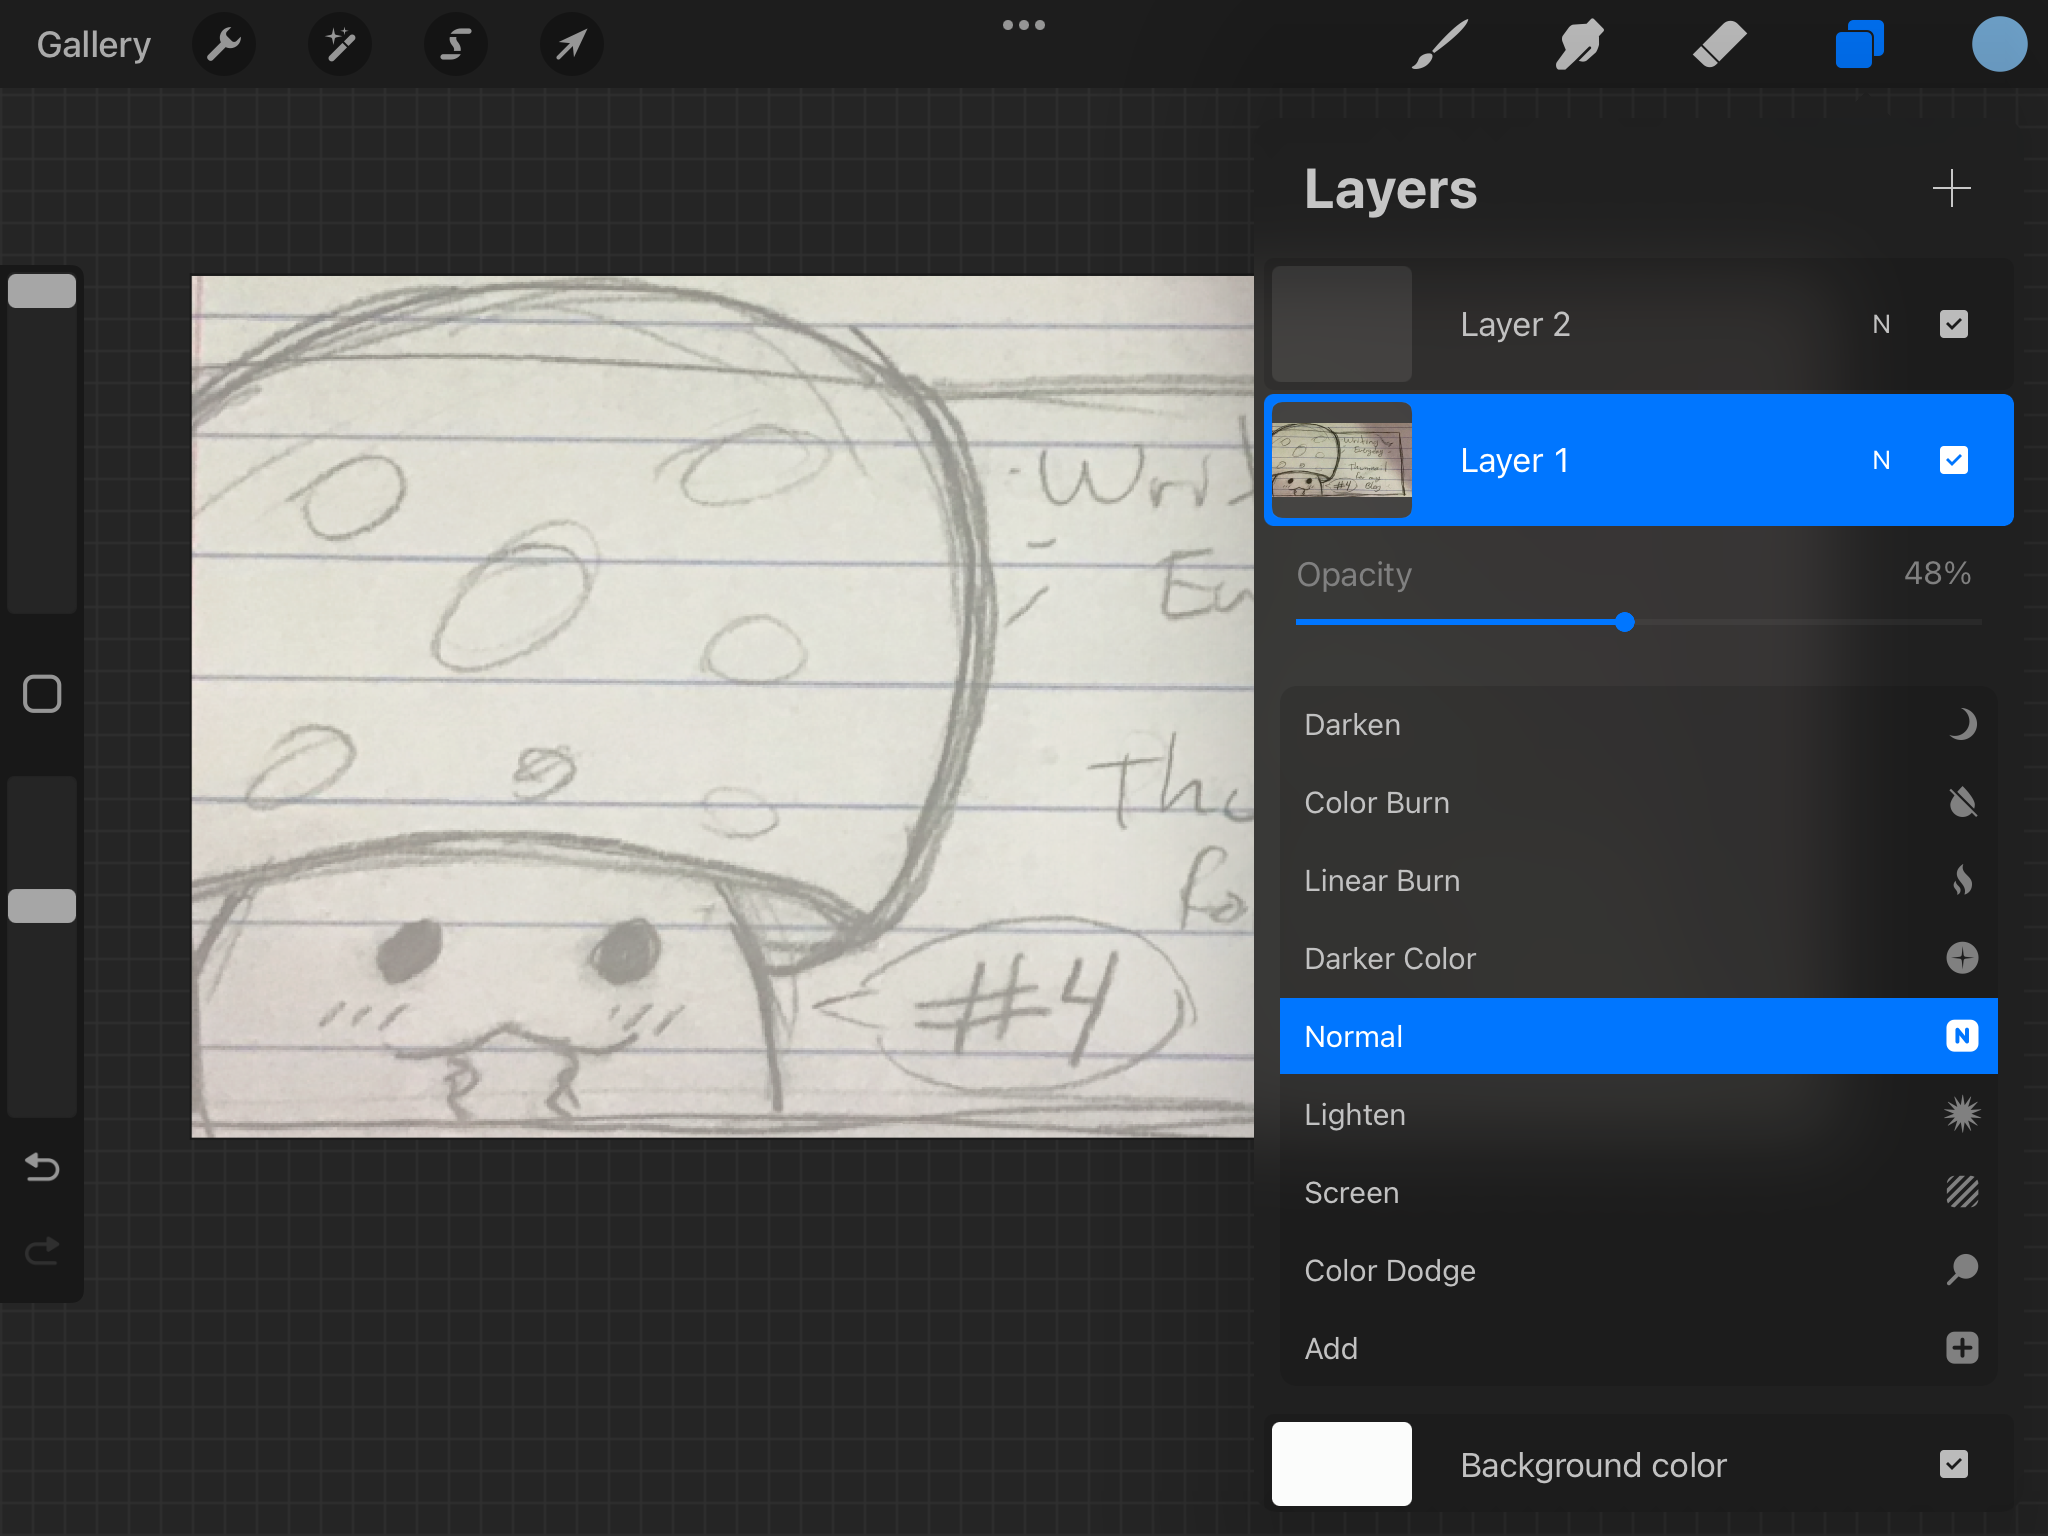
Coloring and lines
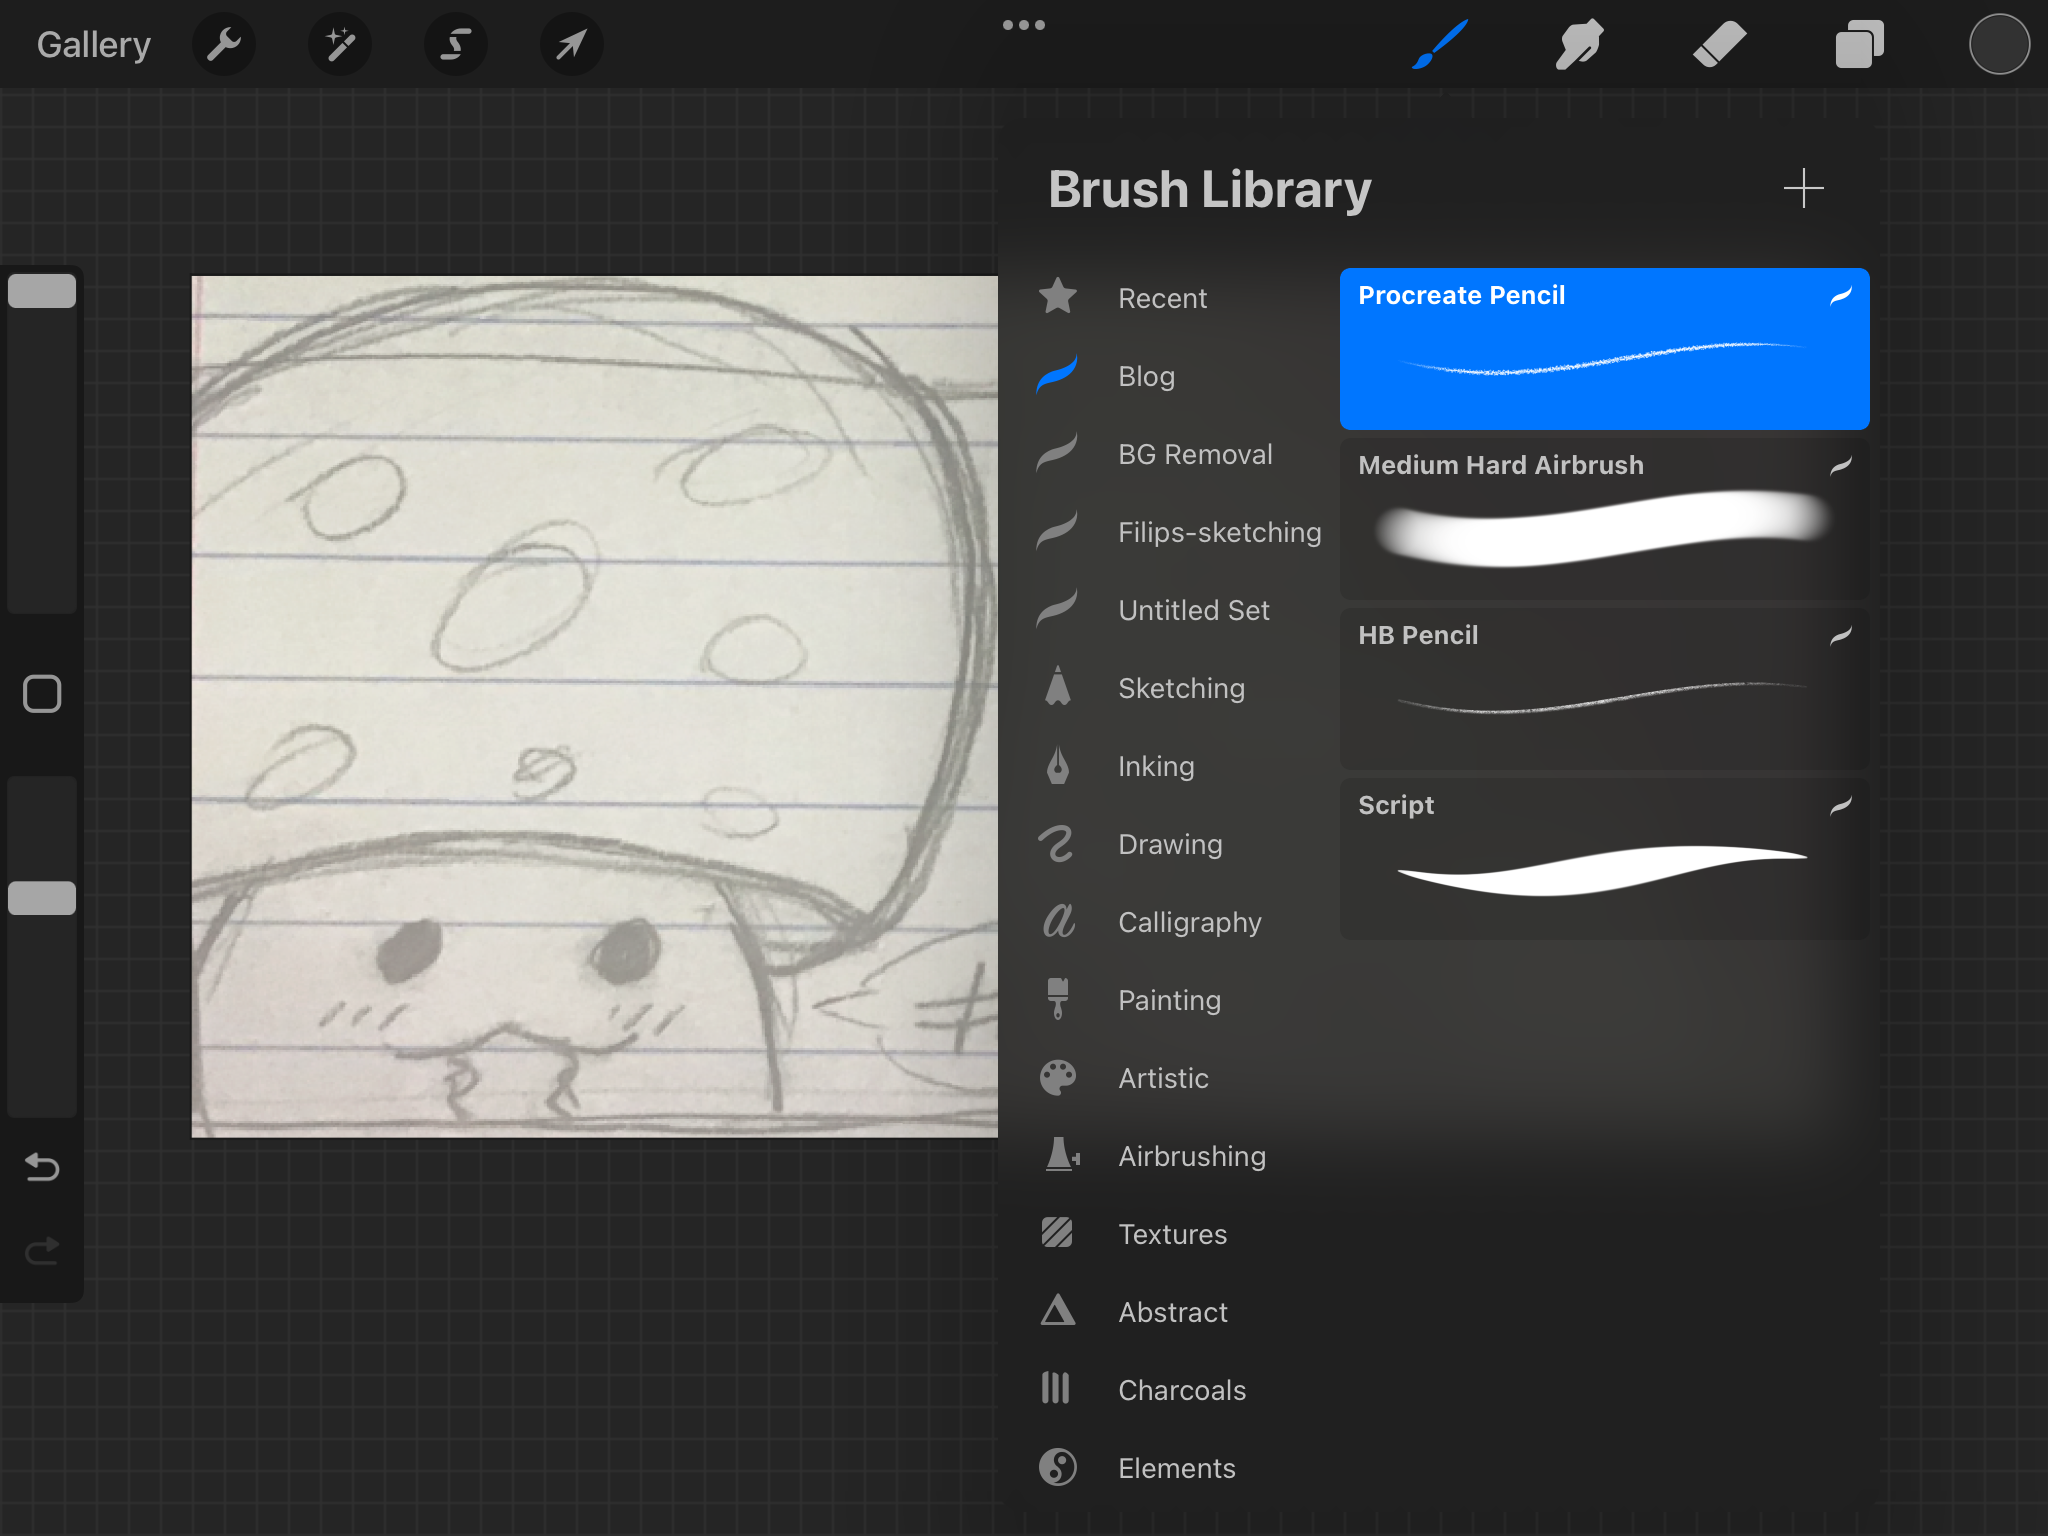
These are the brushes I use
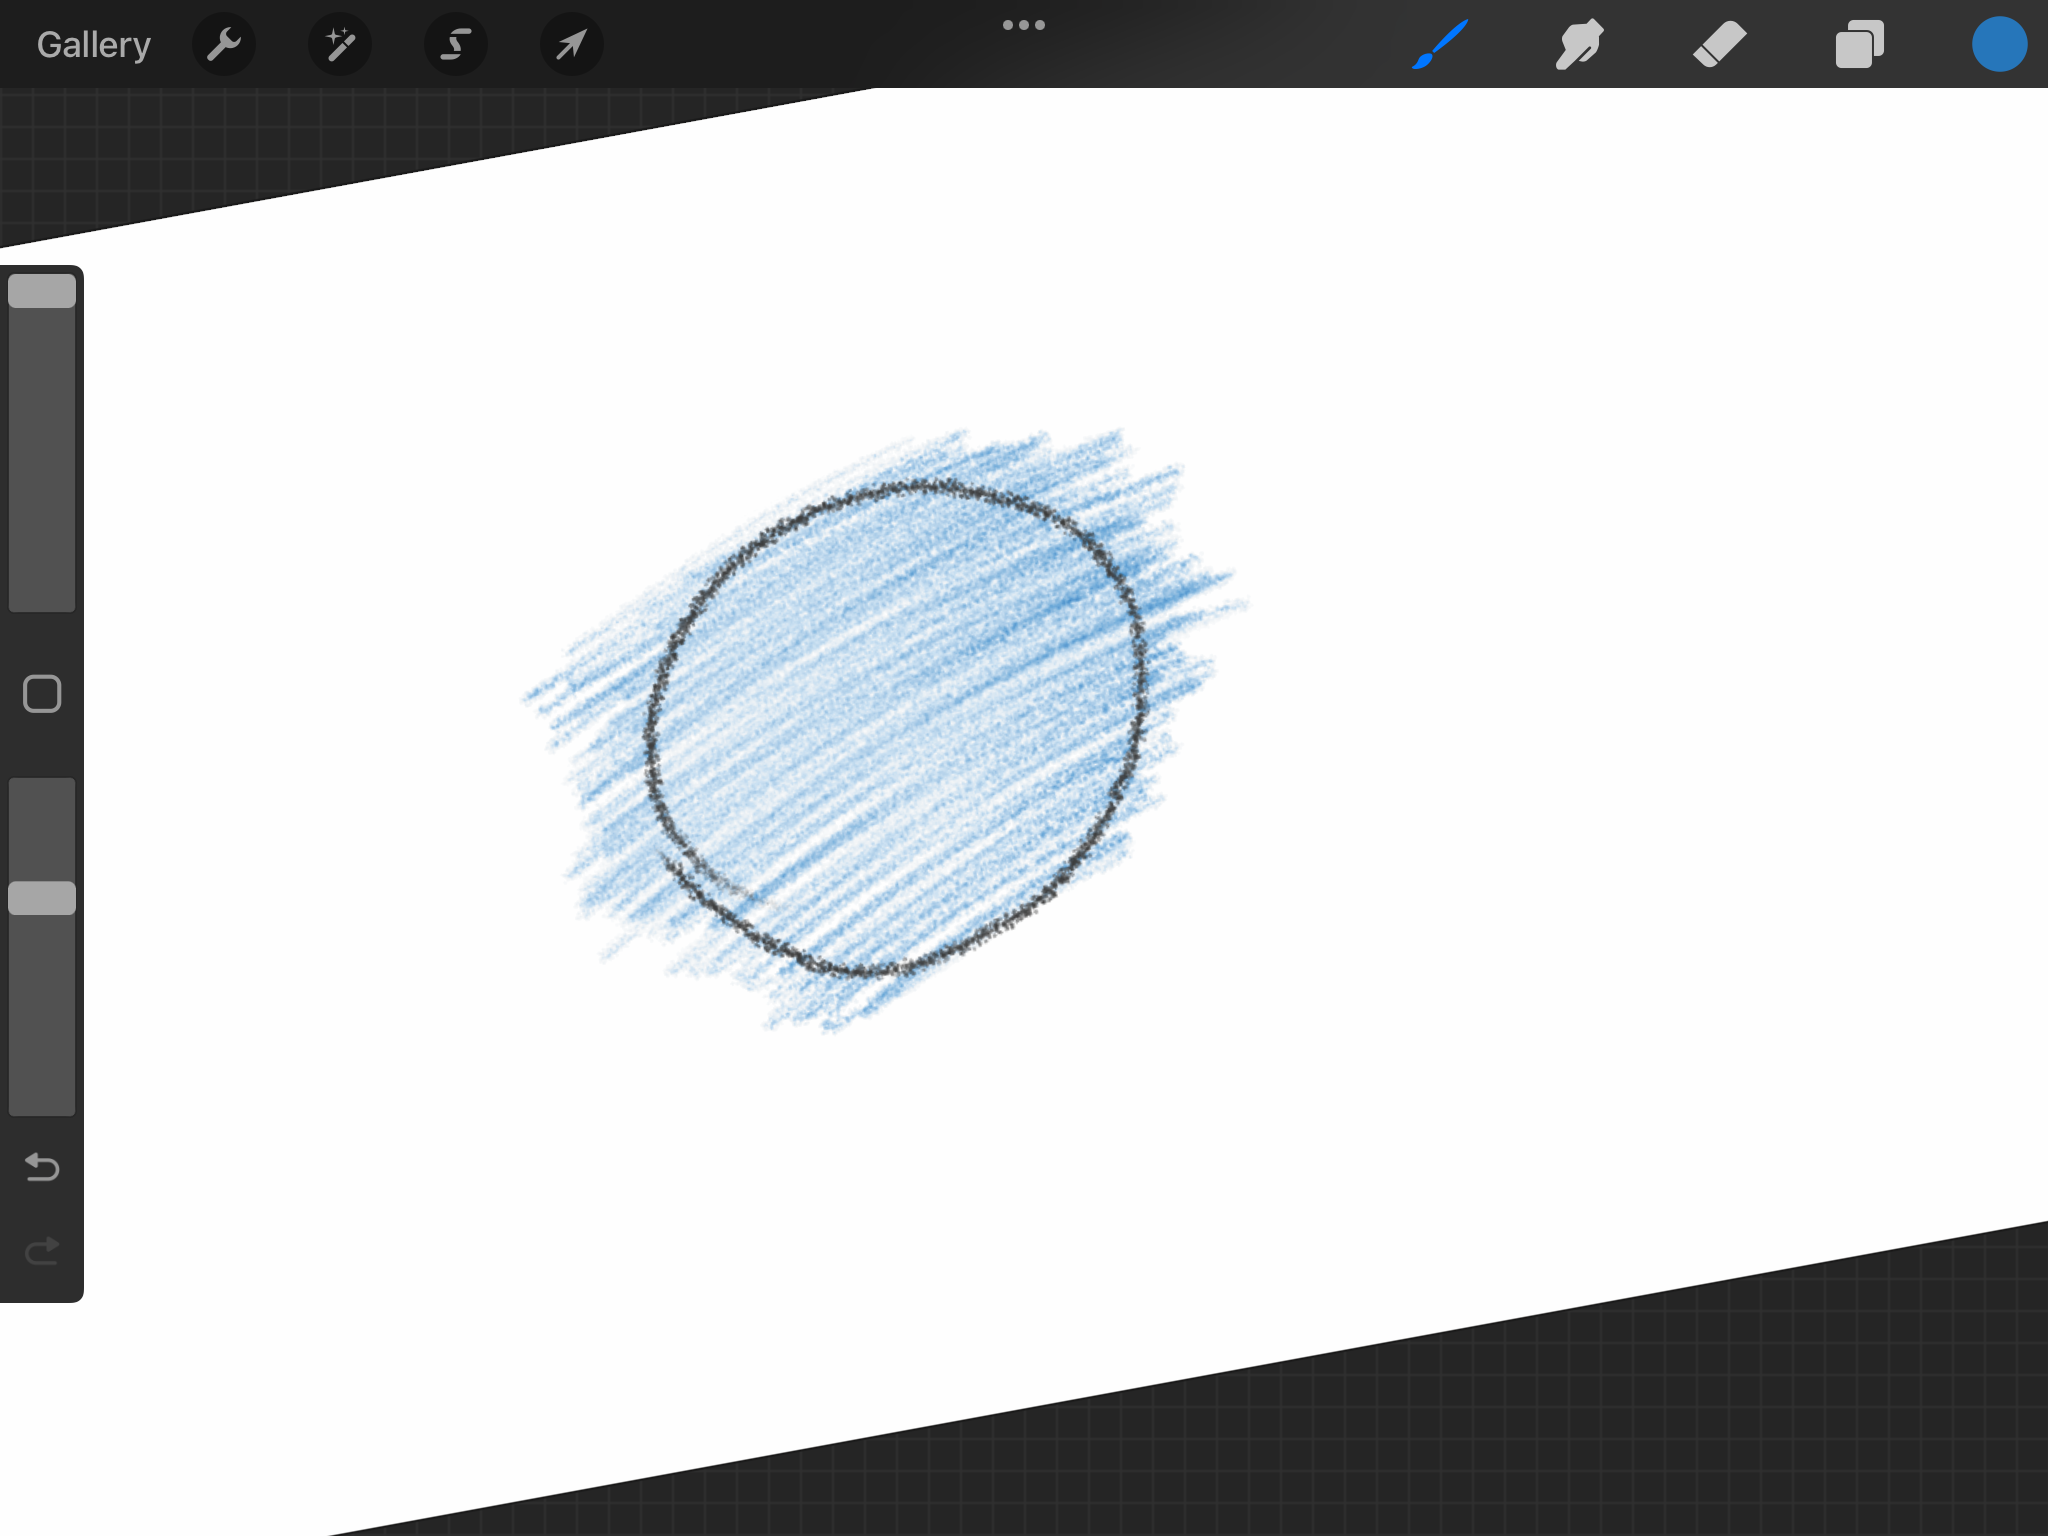
I just make simple lines
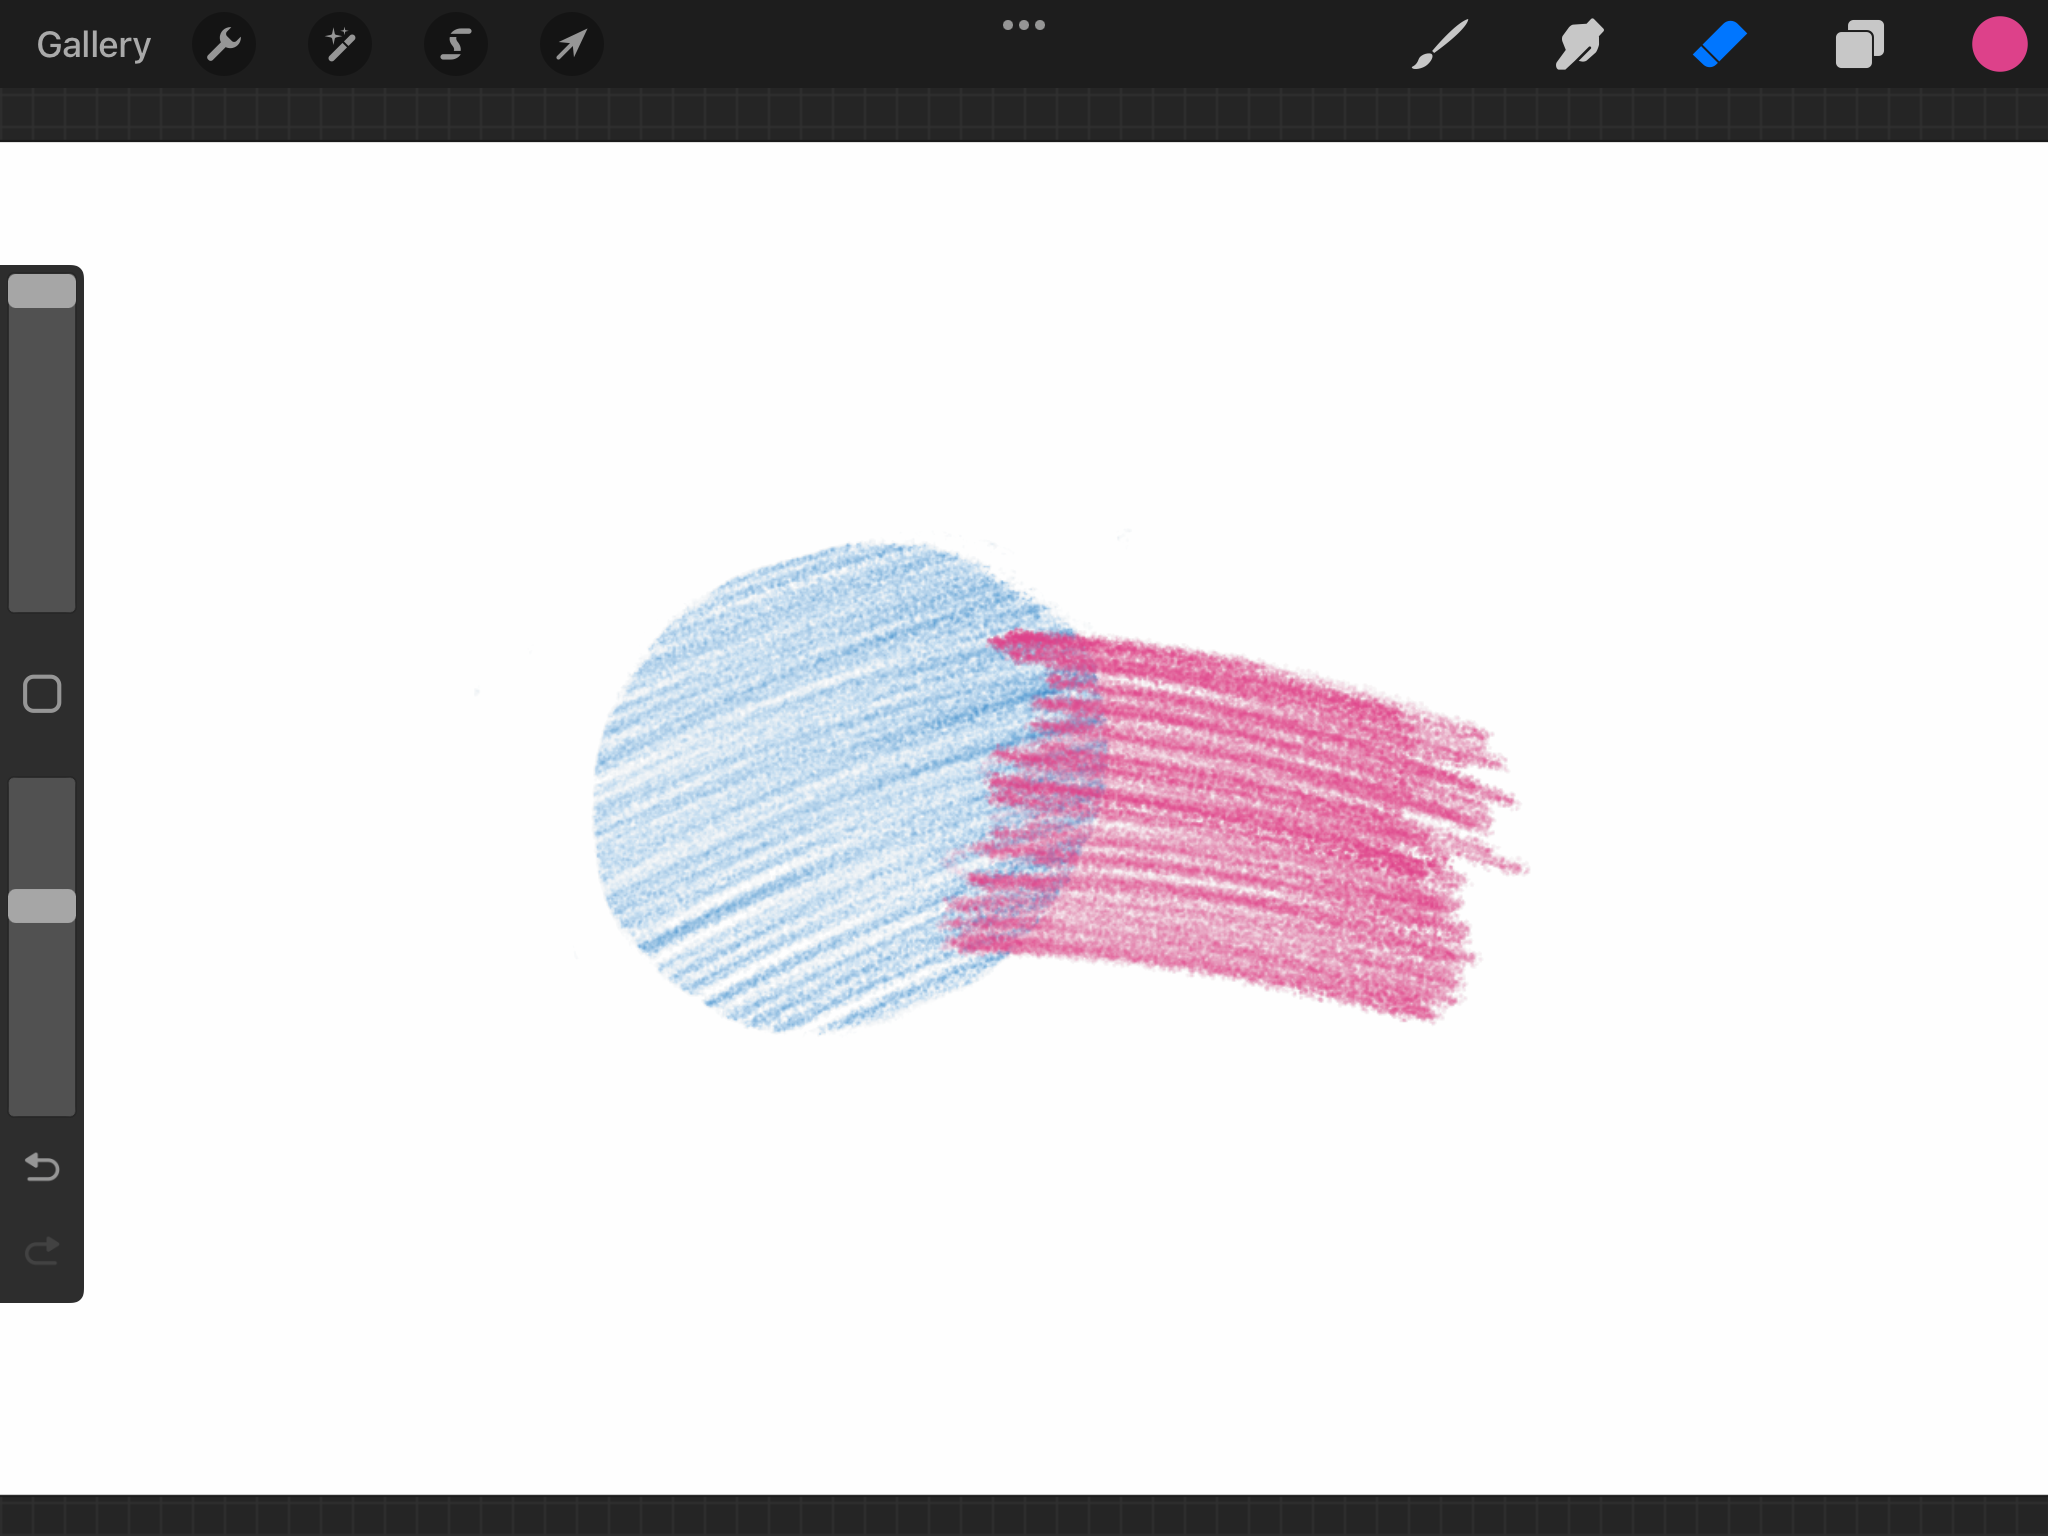
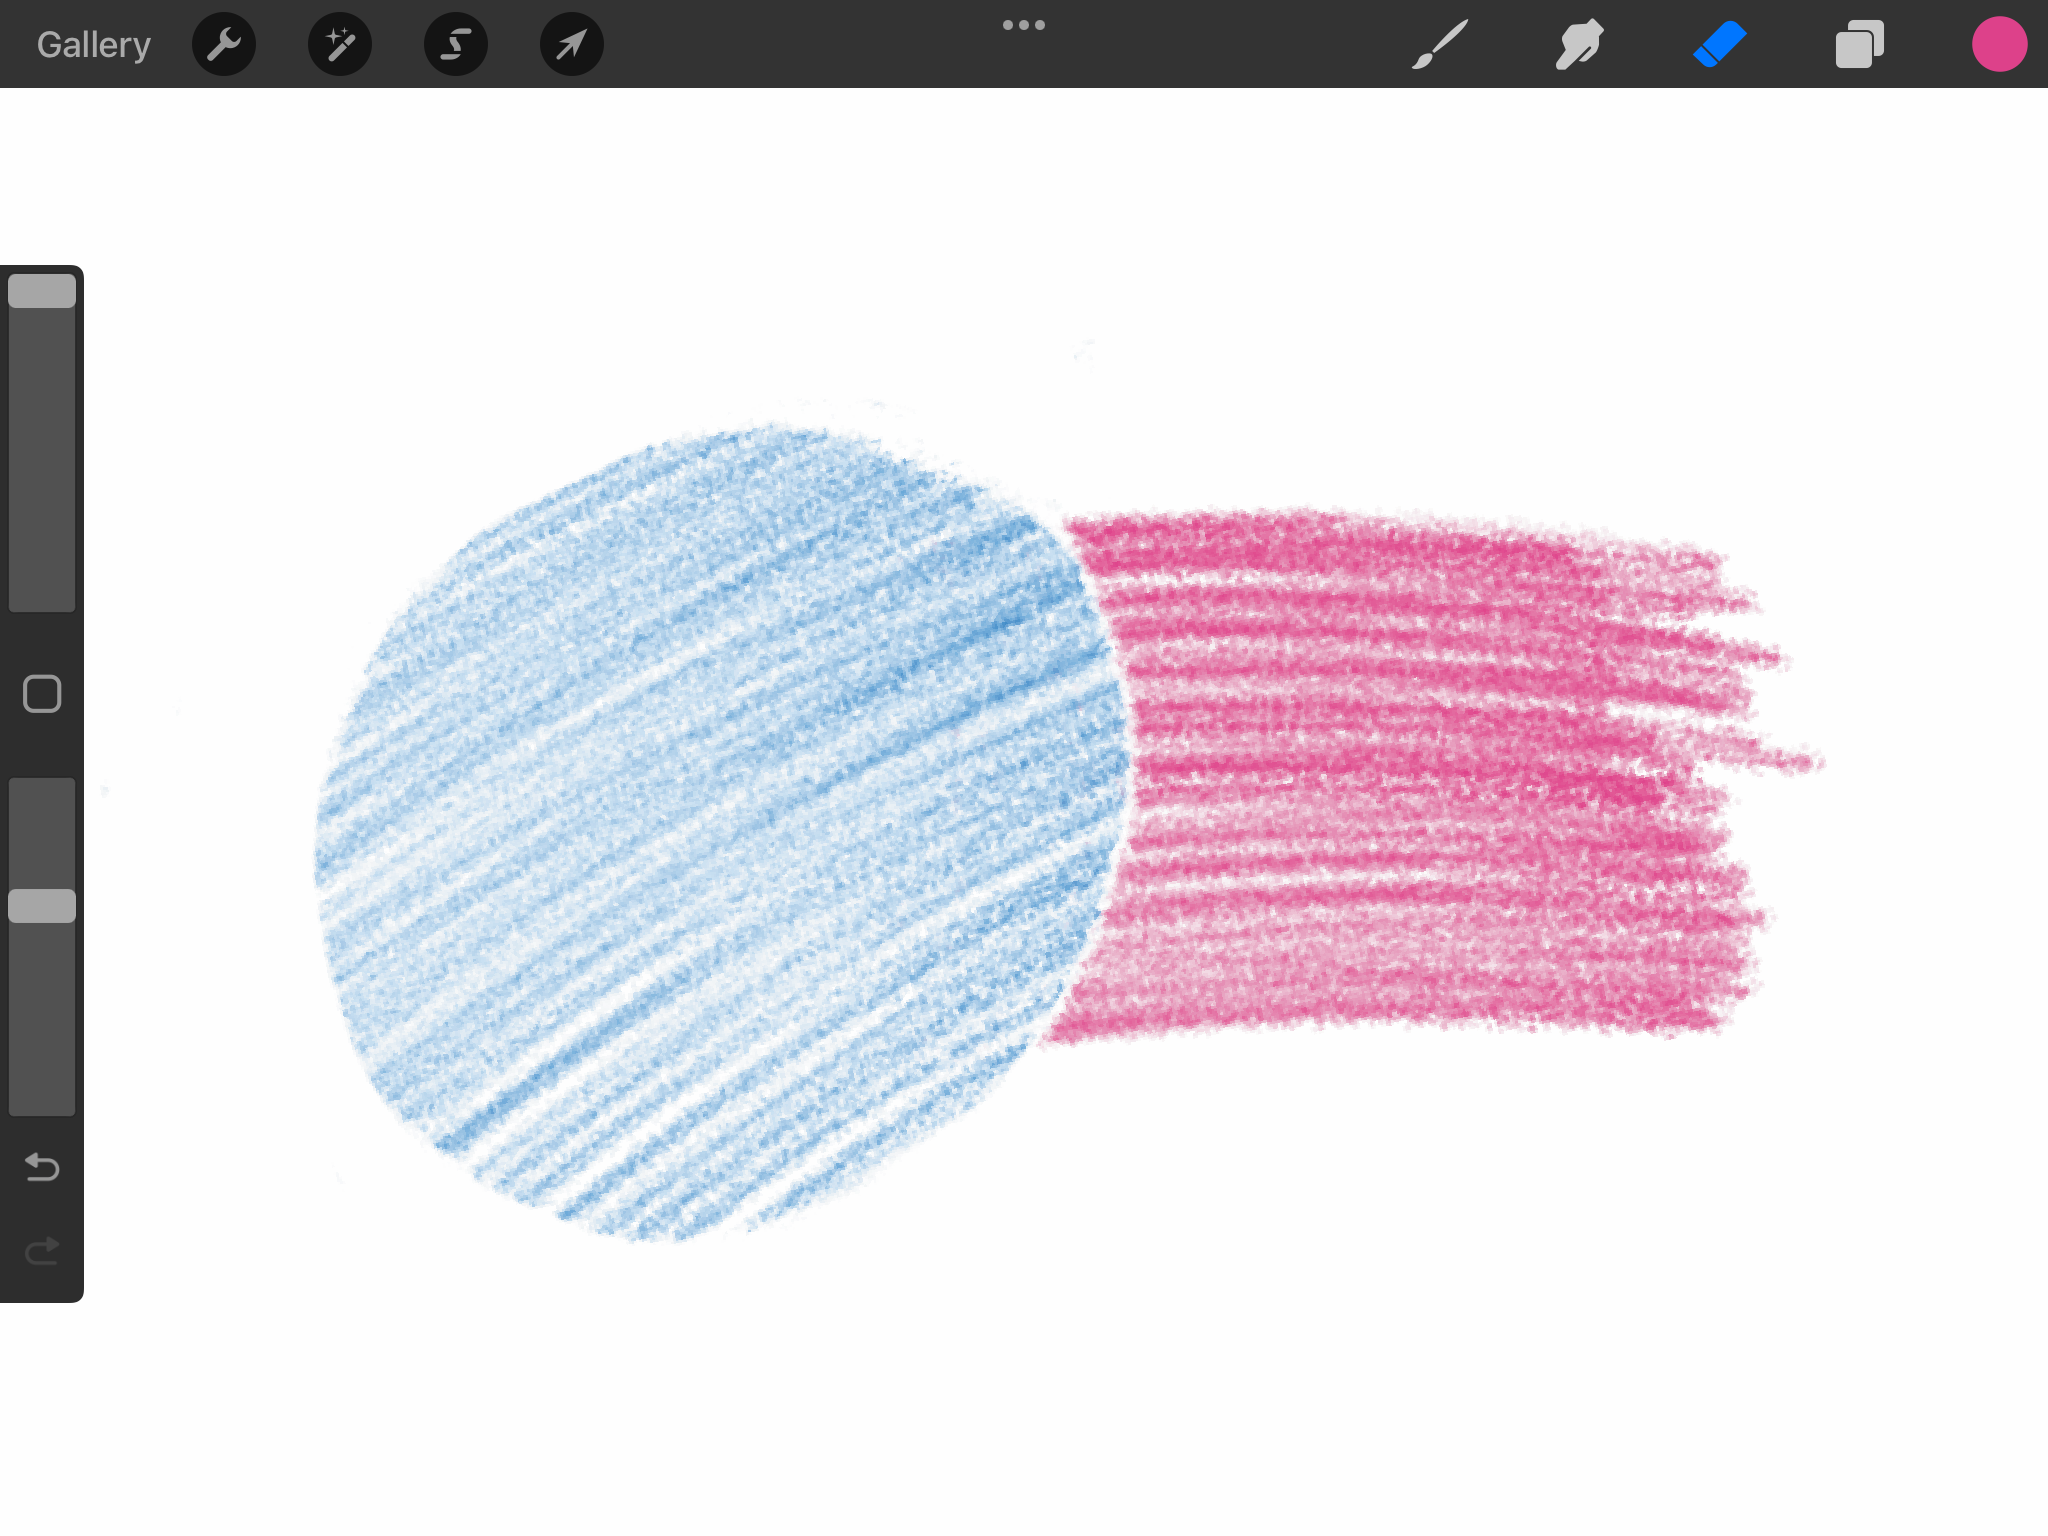
 For coloring, I add a new layer and draw behind the lines
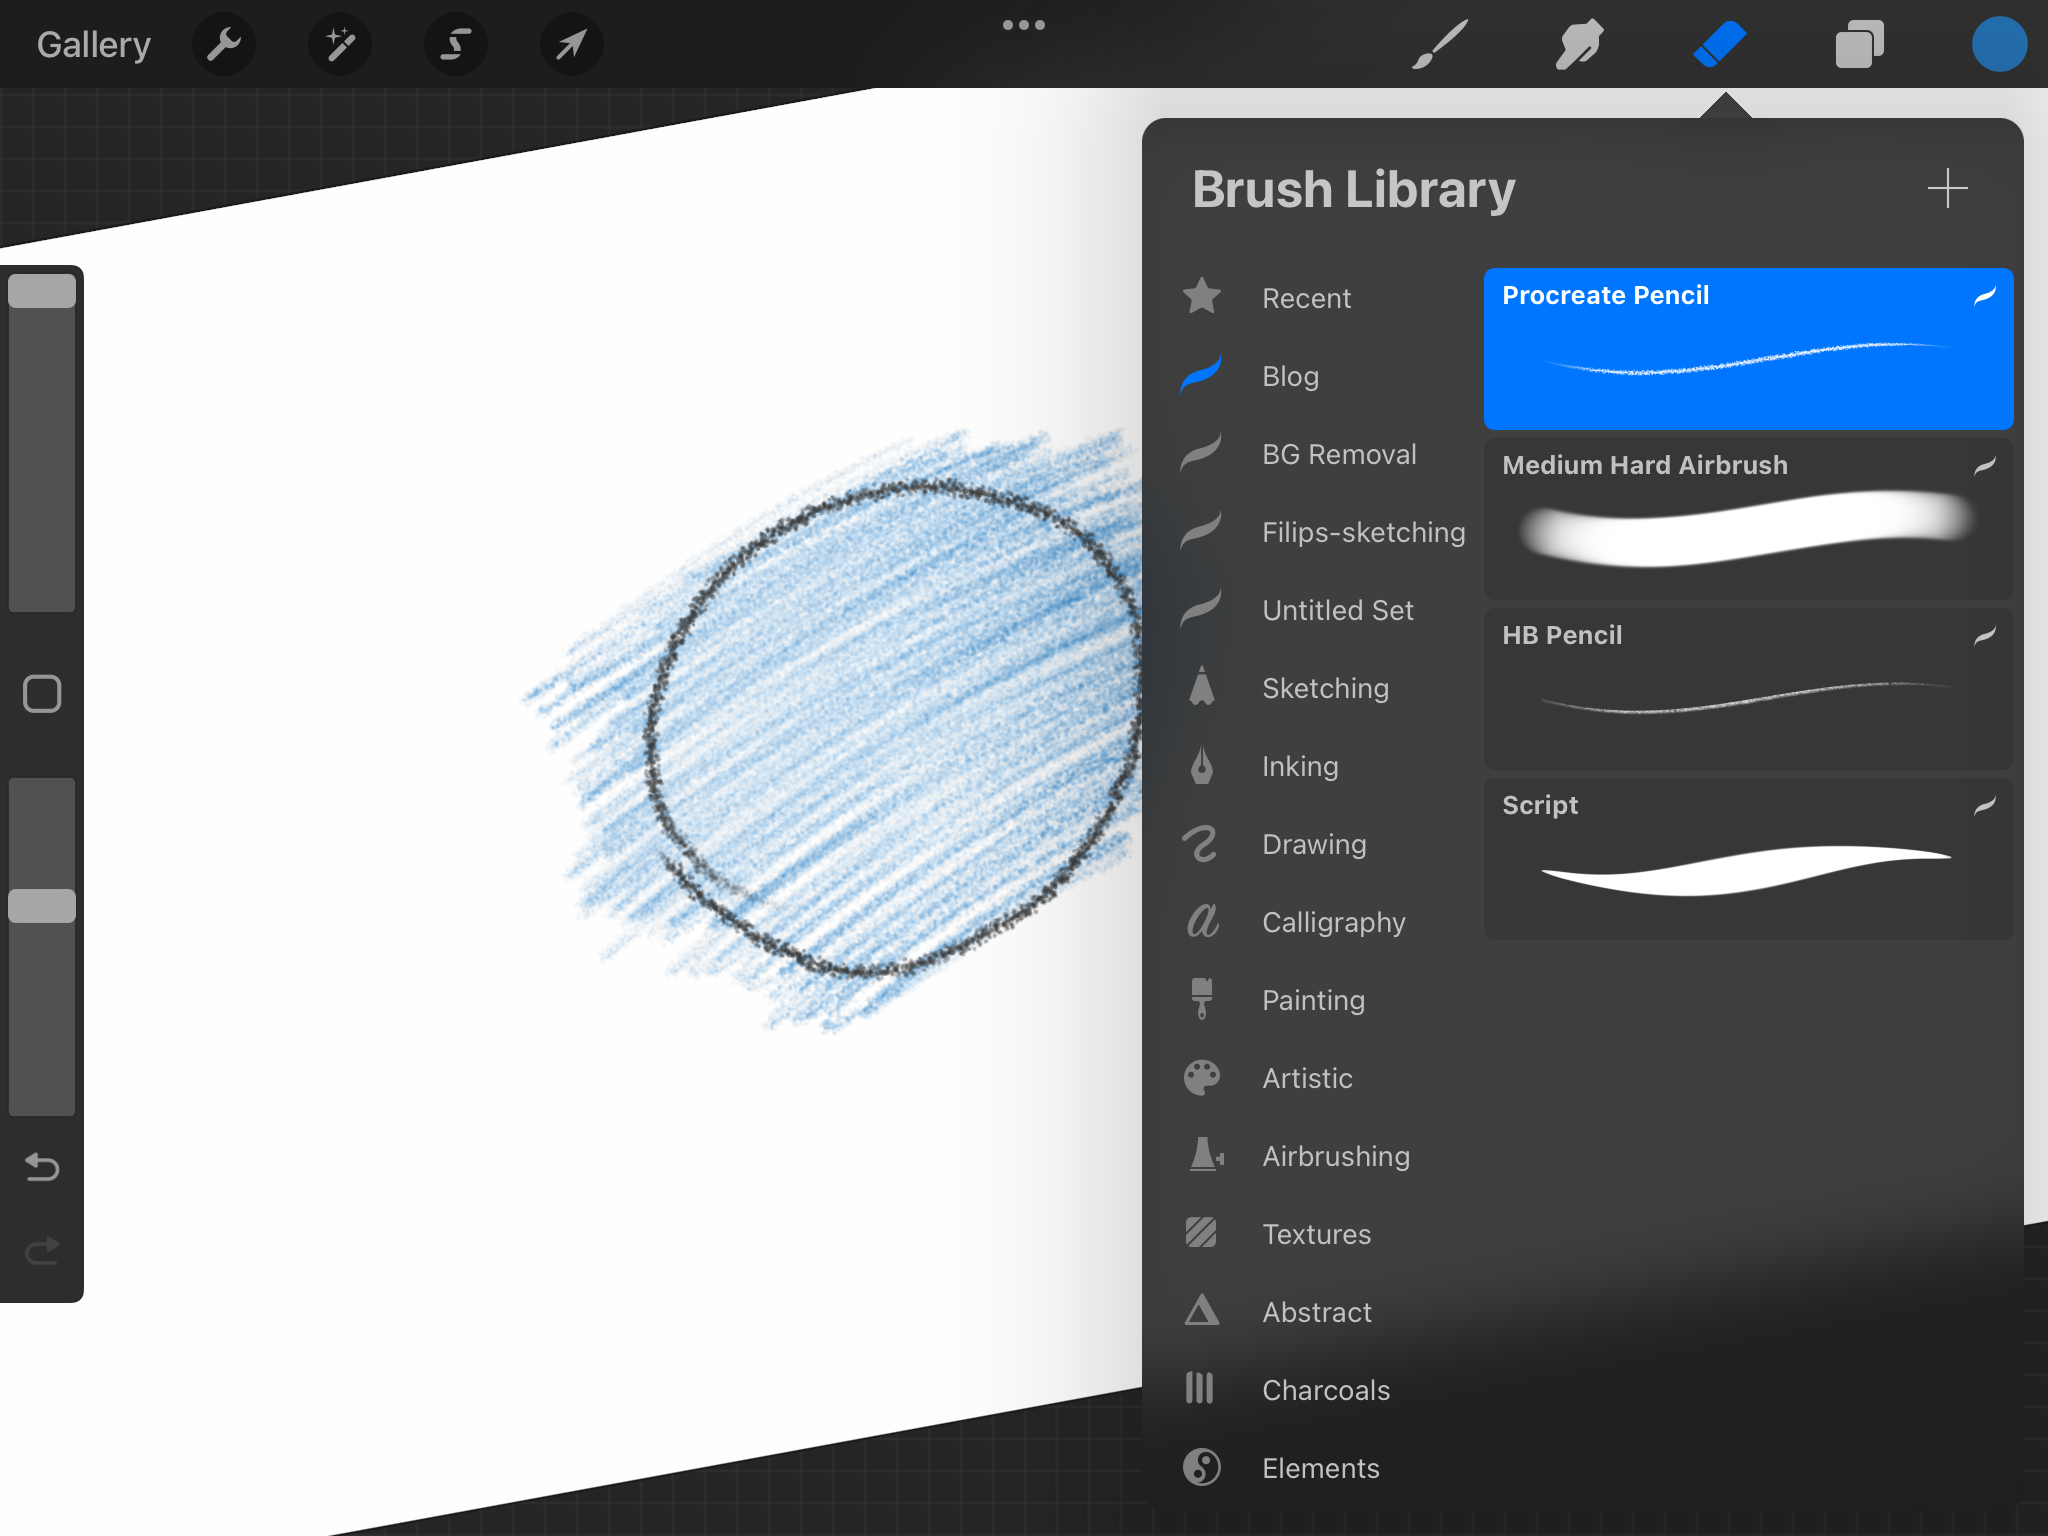
 Then I can use the same brush but in eraser mode to achieve the shape
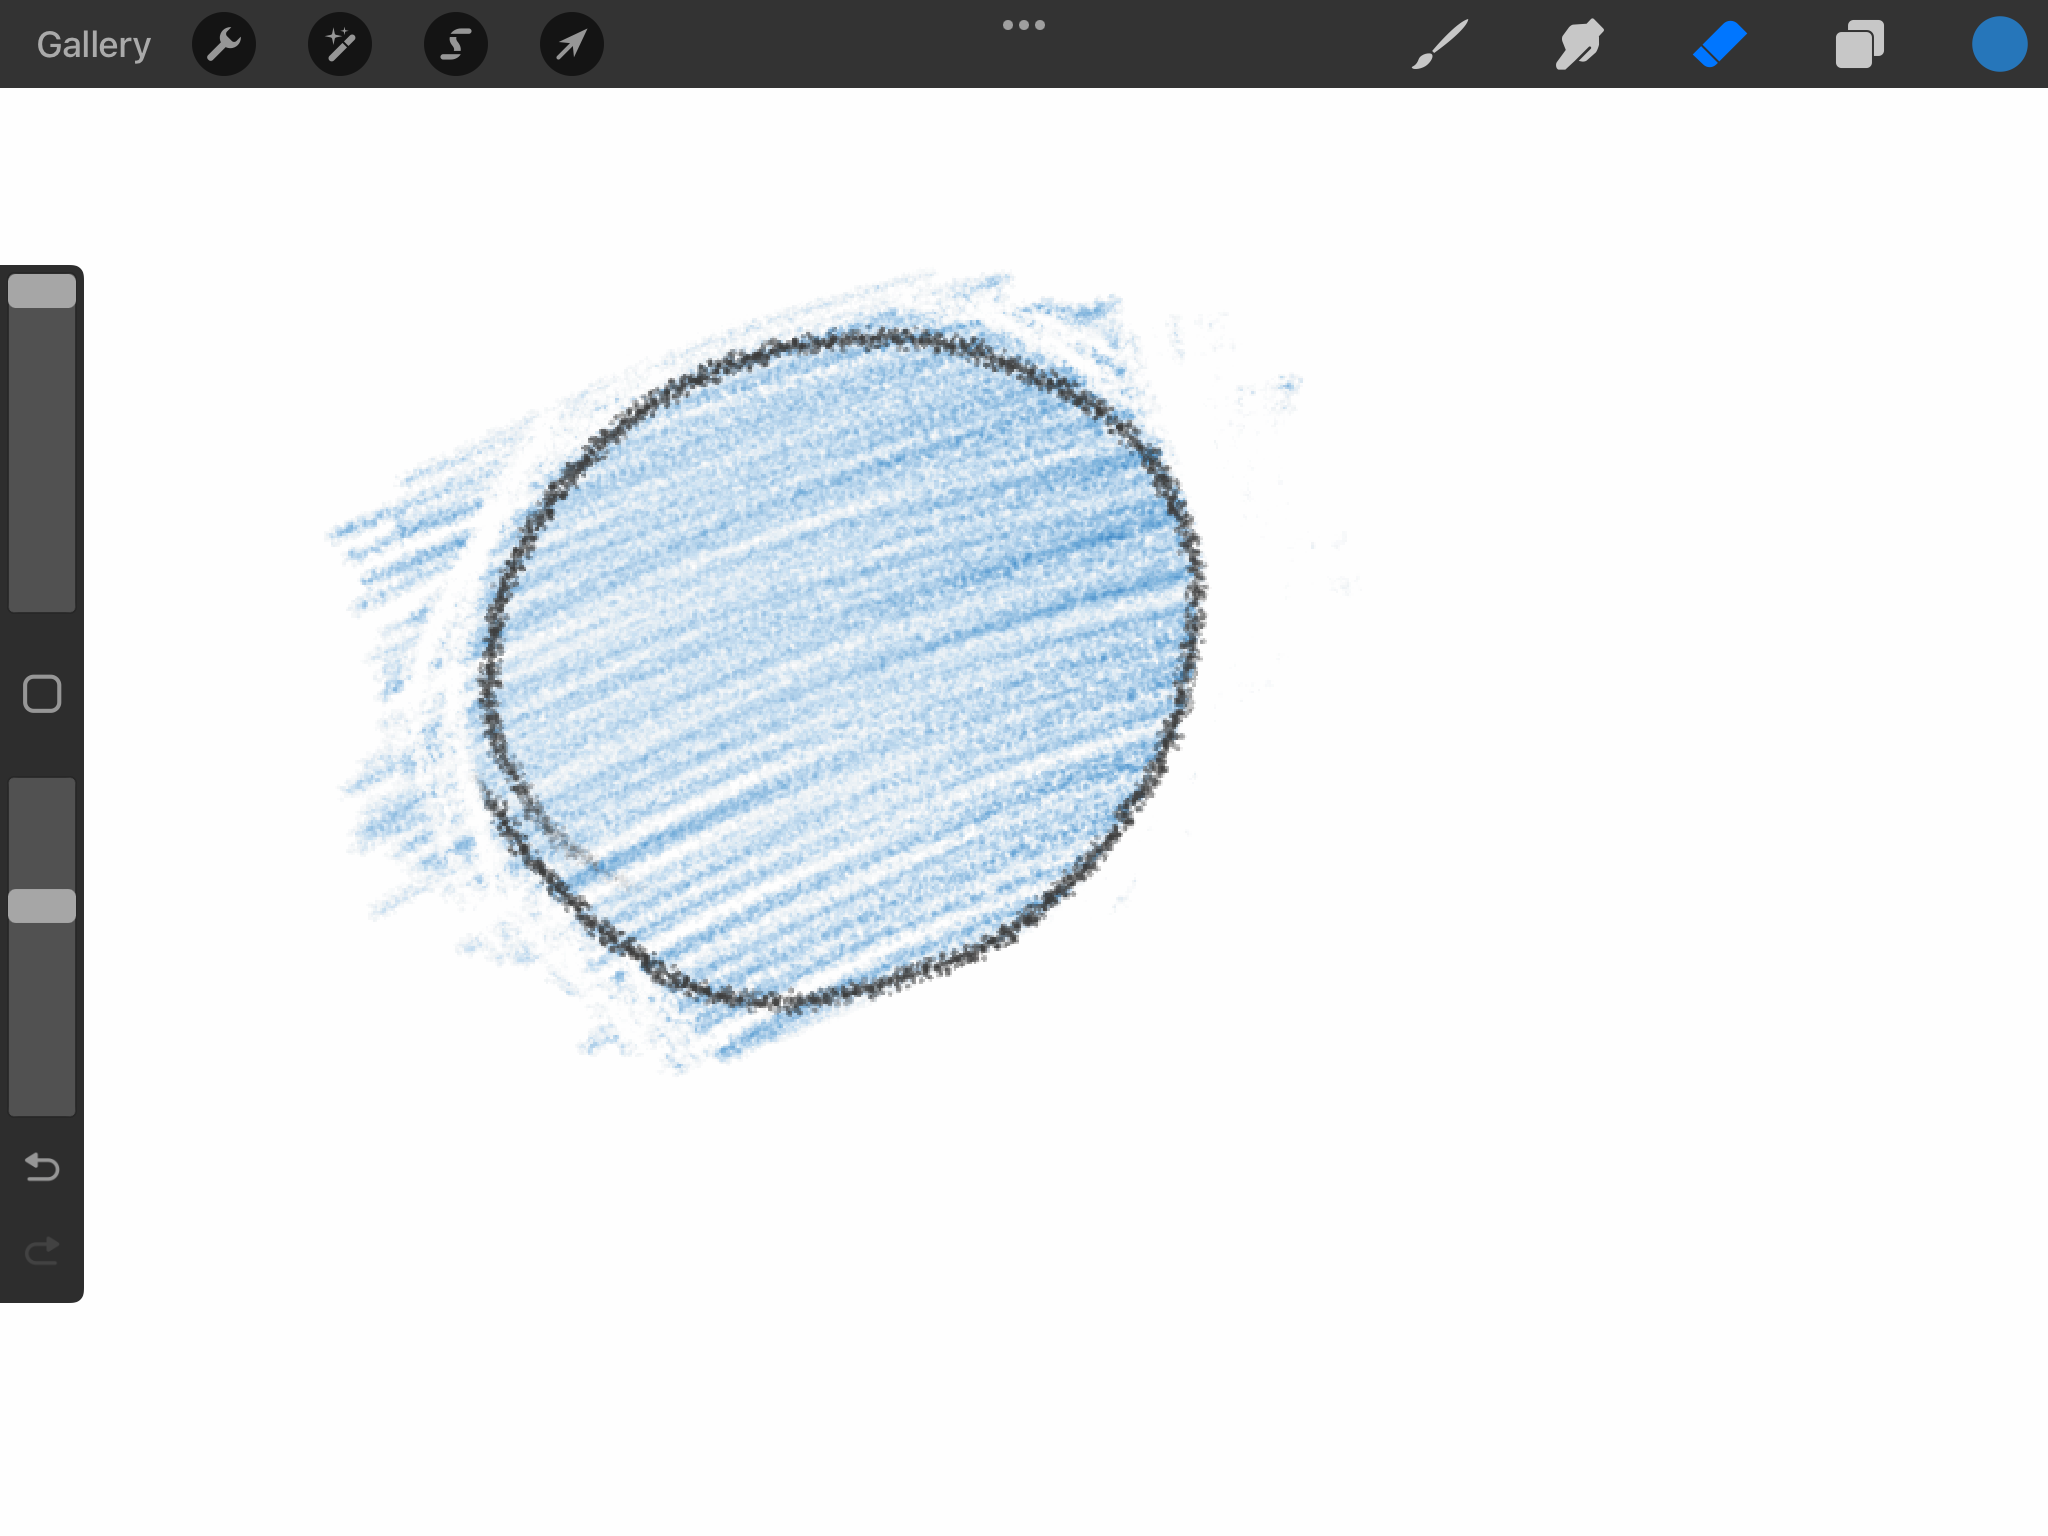 For adjacent shapes I create a "perceived line" by erasing
Time-lapse
Here's a video of the time-lapse for this cover image:
Epilogue
I Intended to write about setting up my GitHub and linkedIn profiles today. Alas, I wasn't feeling it. But hey I am specially proud of todays drawing. A little victory to cheer up my day.
See you tomorrow!


